In the realm of pet accessories, dog collars have transcended their functional purpose, evolving into fashion statements that reflect a dog’s unique personality and style. Whether you’re seeking a durable collar for everyday wear or a festive accessory for special occasions, crafting your own dog collar offers a rewarding and personalized experience. This guide delves into the world of DIY dog collar creation, equipping you with the knowledge and techniques to create a stylish and secure accessory for your furry friend.
I. Introduction
A. Brief overview of the growing popularity of DIY pet accessories
The world of pet accessories has witnessed a surge in DIY creations, as pet owners embrace the opportunity to personalize their furry companions’ attire. Dog collars, in particular, have become a popular canvas for creativity, allowing owners to showcase their dog’s unique style and personality. From vibrant patterns and playful charms to elegant leather and intricate embroidery, the possibilities for DIY dog collar designs are endless.
B. Introduction of the benefits of crafting a DIY dog collar
Crafting your own dog collar offers a multitude of benefits that extend beyond the satisfaction of creating a unique accessory. Here are some compelling reasons to embark on this DIY project:
-
Personalized Style: DIY dog collars allow you to tailor the design to your dog’s individual style and preferences. Whether your dog is a playful pup or an elegant canine, you can create a collar that perfectly complements their personality.
-
Cost-Effective Alternative: DIY dog collars can be a more economical option compared to store-bought collars, especially if you opt for simple designs and readily available materials.
-
Quality Control: By crafting the collar yourself, you have complete control over the quality of materials and workmanship, ensuring your dog receives a durable and comfortable accessory.
-
Bonding Experience: The process of creating a DIY dog collar can be a fun and bonding experience for you and your furry friend. It’s a chance to express your creativity and share your love for your dog in a tangible way.
II. Gathering Materials and Tools
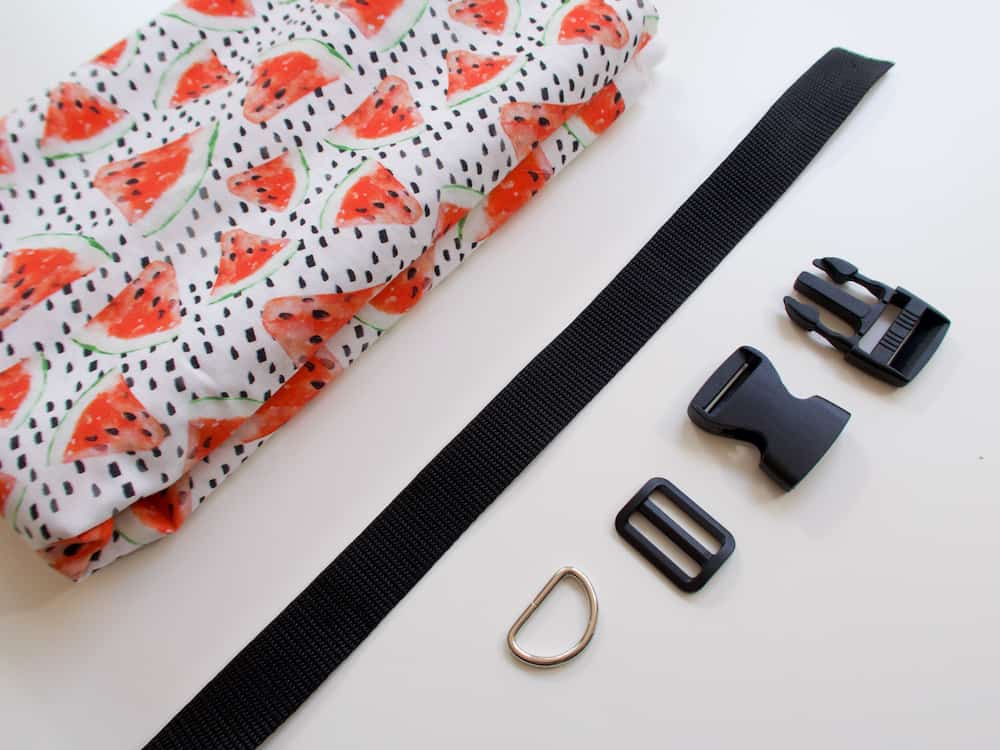
A. Essential materials: Fabric, webbing, buckle, D-ring, scissors, measuring tape, marker, sewing machine
Before embarking on your DIY dog collar creation journey, it’s crucial to gather the essential materials and tools. Here’s a checklist of what you’ll need:
-
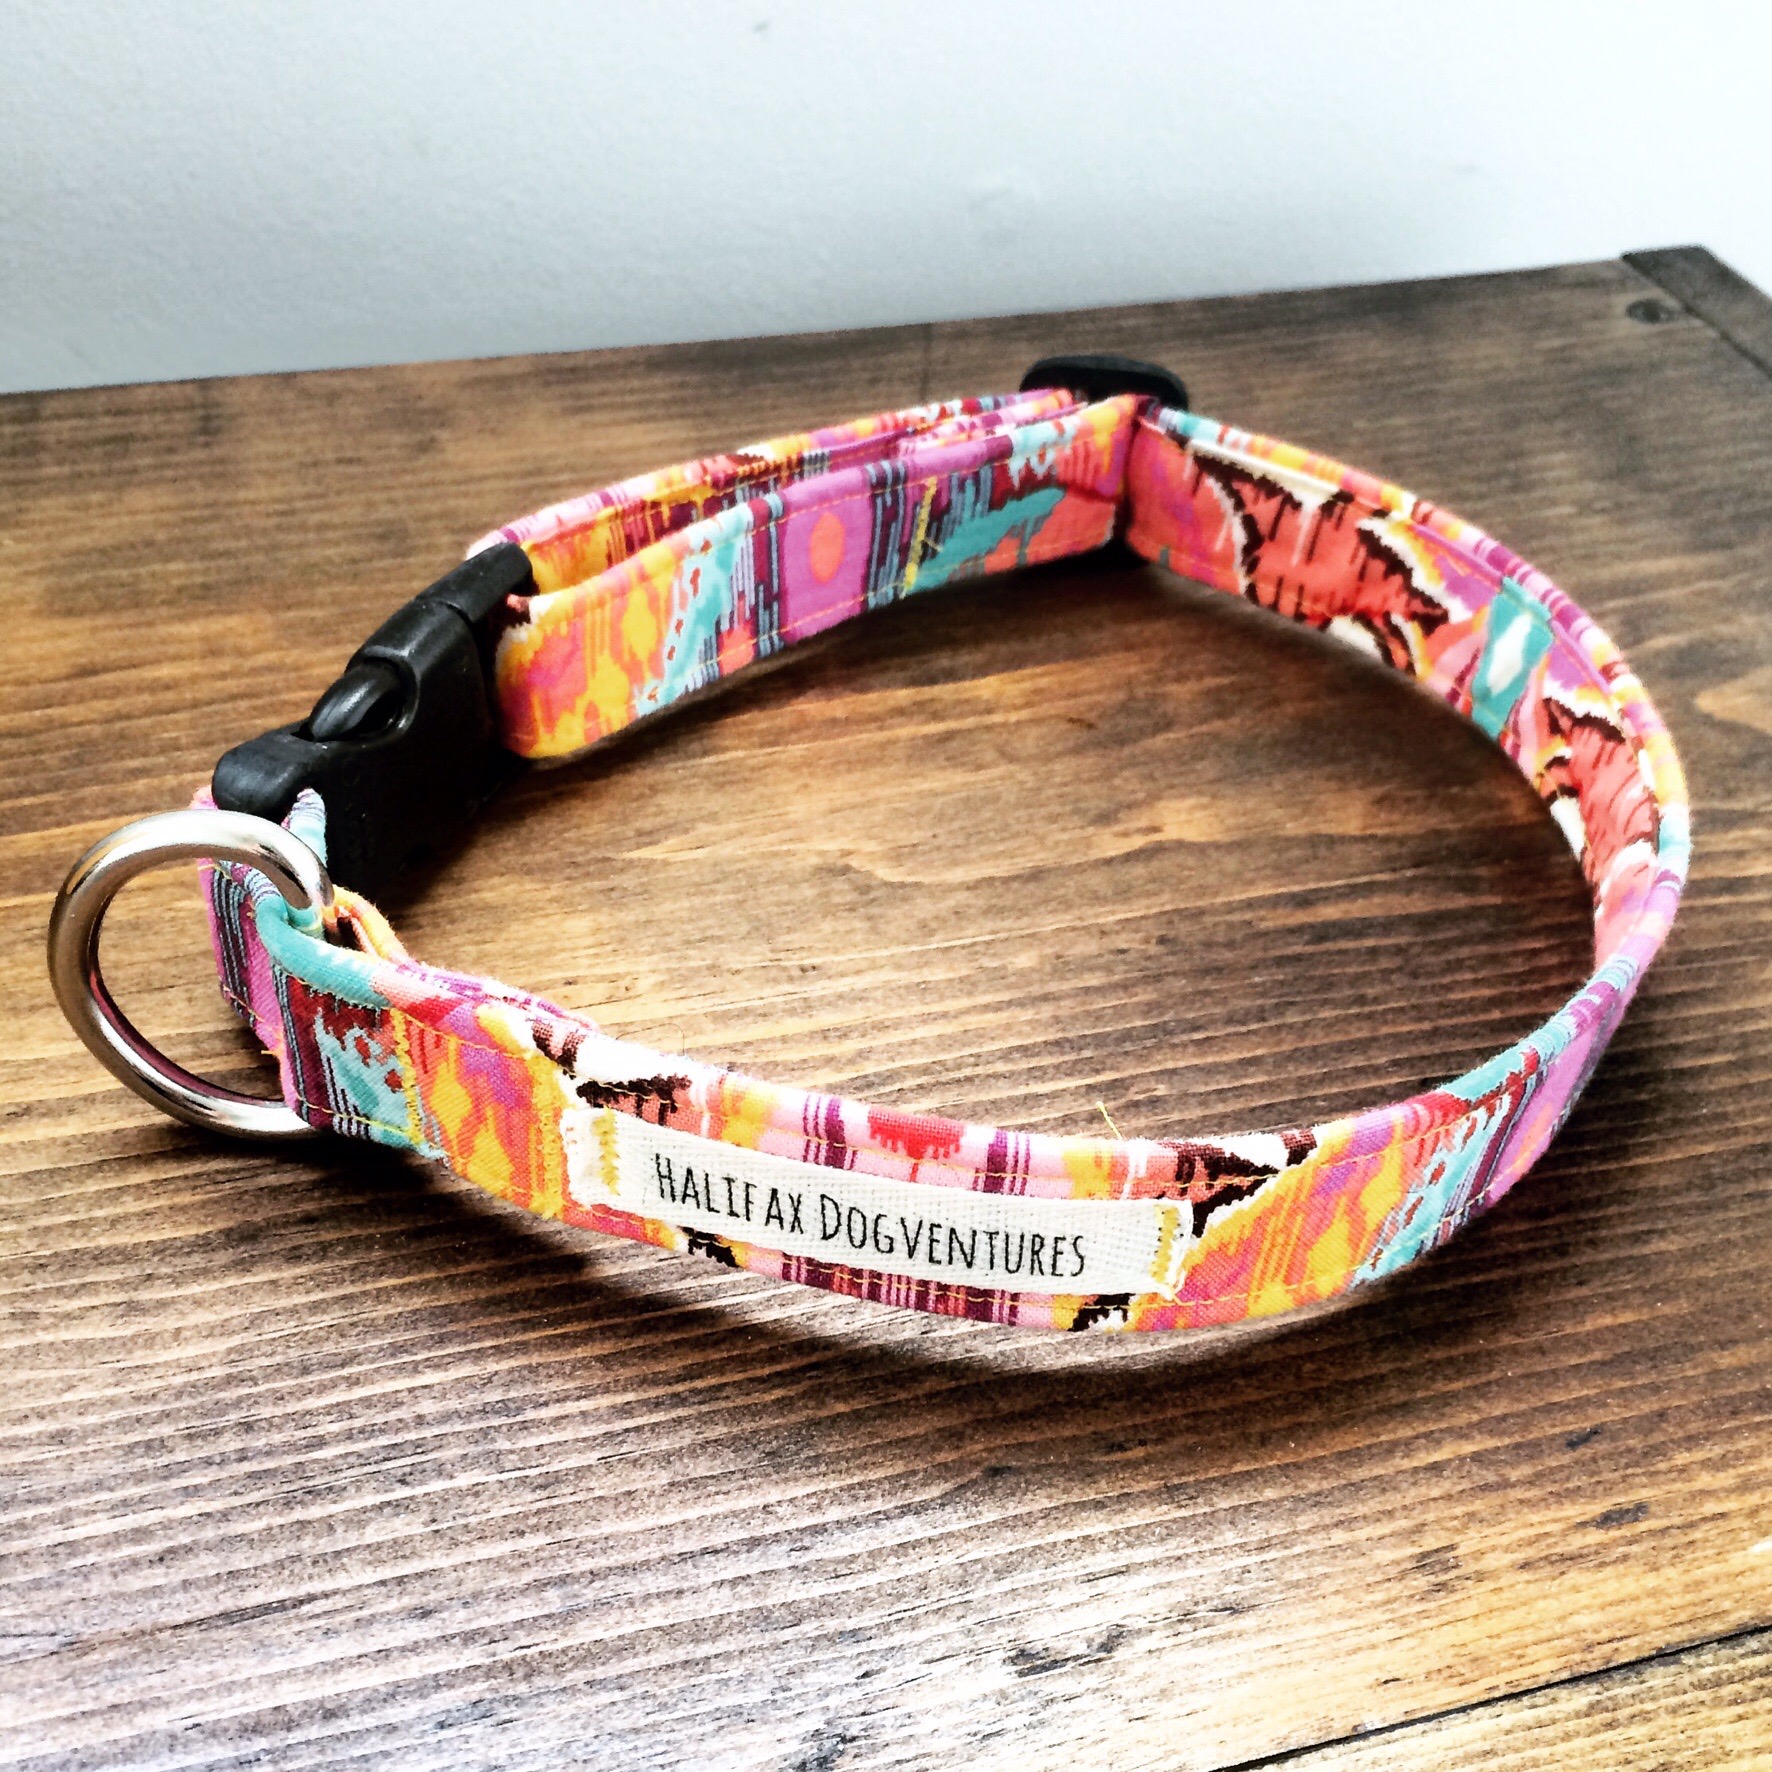
Fabric: The choice of fabric will significantly impact the collar’s appearance, comfort, and durability. Popular options include cotton, nylon, leather, and fleece. Consider your dog’s lifestyle, activity level, and personal style when selecting the fabric.
-
Webbing: Webbing provides the structural support for the collar. Choose a webbing material that complements the fabric and is strong enough to withstand daily wear and tear. Nylon webbing is a common choice due to its durability and versatility.
-
Buckle: The buckle is the closure mechanism that secures the collar around your dog’s neck. Ensure the buckle is made from a durable material, such as plastic or metal, and is appropriately sized for your dog’s neck.
-
D-ring: The D-ring is the attachment point for the leash or other accessories. Choose a D-ring that is sturdy and large enough to accommodate the leash clip or other attachments.
-
Scissors: Sharp scissors are essential for cutting the fabric and webbing accurately.
-
Measuring tape: A measuring tape will be used to measure your dog’s neck circumference and determine the appropriate length of the fabric and webbing strips.
-
Marker: A marker will be used to mark cutting lines and stitching guides on the fabric and webbing.
-
Sewing machine: If you’re not comfortable hand-sewing, a sewing machine will make the process much faster and easier.
B. Optional materials: Charms, beads, embroidery thread, decorative embellishments
If you want to add a touch of personality or flair to your DIY dog collar, you can incorporate optional materials such as charms, beads, embroidery thread, or other decorative embellishments. Just ensure that any embellishments are securely attached and pose no choking hazards for your dog.
III. Selecting the Right Fabric
A. Factors to consider: Durability, comfort, style, weather conditions
The choice of fabric plays a crucial role in the overall appearance, comfort, and durability of your DIY dog collar. Here are some factors to consider when selecting the right fabric:
-
Durability: If your dog is an active adventurer, choose a durable fabric that can withstand rough play and outdoor activities. Nylon or leather are excellent choices for active dogs.
-
Comfort: The fabric should feel soft and comfortable against your dog’s skin. Cotton or fleece are popular choices for their softness and breathability.
-
Style: Consider your dog’s personality and style when selecting the fabric.
-
There are endless possibilities, from vibrant solids and playful patterns to elegant prints and classic stripes. You can even personalize the fabric further by adding embroidery or fabric paint designs.
- Weather conditions: If you live in a climate with extreme temperatures, consider the fabric’s breathability and heat retention. For warm climates, a lightweight and breathable cotton fabric might be ideal. Conversely, for colder climates, a fleece or flannel fabric could provide additional warmth for your dog.
B. Popular fabric choices: Cotton, nylon, leather, fleece
Here’s a closer look at some popular fabric choices for DIY dog collars:
-
Cotton: Cotton is a soft, breathable fabric that’s a good choice for everyday wear. It comes in a wide variety of colors and patterns, making it perfect for creating a stylish collar. However, cotton may not be as durable as other options and can get dirty or wet more easily.
-
Nylon: Nylon is a strong, water-resistant fabric that’s ideal for active dogs. It’s easy to clean and dries quickly, making it a practical choice for outdoor adventures. Nylon webbing is often used alongside a decorative fabric layer for a combination of comfort and durability.
-
Leather: Leather offers a timeless and elegant look. It’s a very durable material, perfect for active dogs who may put a strain on their collar. However, leather can be more expensive than other options and may require extra care to keep it looking its best.
-
Fleece: Fleece is a soft and warm fabric that’s a good choice for colder climates. It’s comfortable for your dog to wear and can provide additional warmth during walks. However, fleece can show dirt and wear more easily than other fabrics.
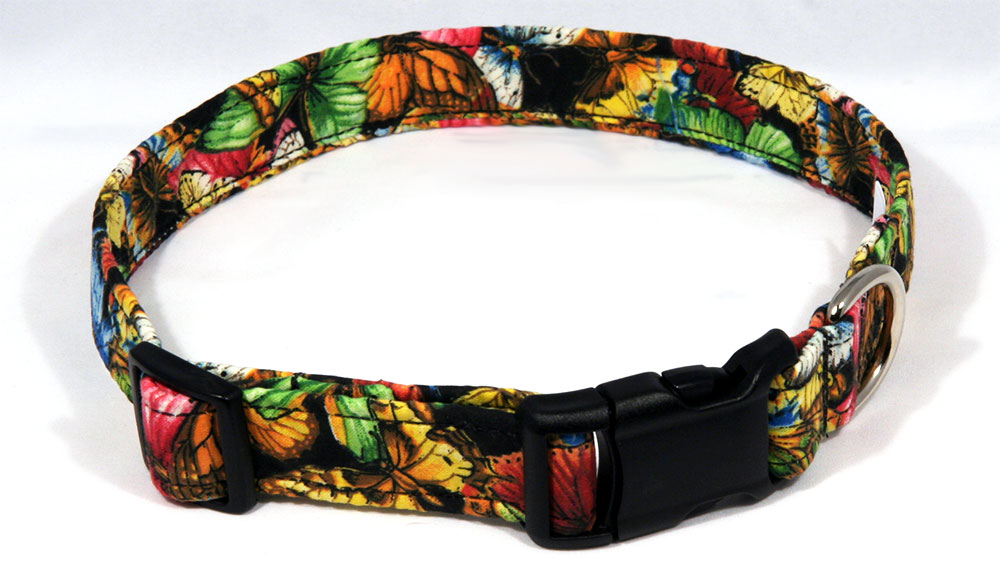
IV. Measuring Your Dog’s Neck
A. Using a measuring tape: Find the widest part of your dog’s neck
Before you begin cutting your materials, it’s crucial to accurately measure your dog’s neck circumference. Here’s how to do it:
-
Locate the widest part of your dog’s neck. This is typically just below the base of their head.
-
Wrap a measuring tape comfortably around your dog’s neck. Ensure the tape is not too tight or too loose.
-
Note down the measurement in inches or centimeters.
B. Considering future growth: Add an extra inch or two to accommodate growth
When determining the final collar length, it’s wise to factor in potential future growth, especially for puppies. Here’s how to adjust the measurement:
-
Add one to two inches to the measured neck circumference. This will provide a comfortable fit for your dog as they grow.
-
For larger dogs or breeds known for rapid growth, you might consider adding an additional inch for extra wiggle room.
V. Cutting the Fabric and Webbing
A. Cutting the fabric: Measure and cut the fabric strip to the desired length
Now that you have the final collar length, it’s time to cut the fabric:
-
Using a ruler and marker, mark the desired length on the fabric, factoring in the additional inch or two for growth.
-
Remember to account for seam allowances when measuring. Typically, a seam allowance of half an inch on each side is sufficient.
-
Using sharp scissors, carefully cut the fabric strip along the marked lines.
B. Cutting the webbing: Measure and cut the webbing strip slightly shorter than the fabric strip
The webbing provides the structural support for the collar, so it needs to be slightly shorter than the fabric to allow for a comfortable fit:
-
Measure and mark the desired length on the webbing strip, making it about half an inch shorter than the fabric strip length.
-
Cut the webbing strip along the marked lines using sharp scissors.
VI. Attaching the Buckle and D-Ring
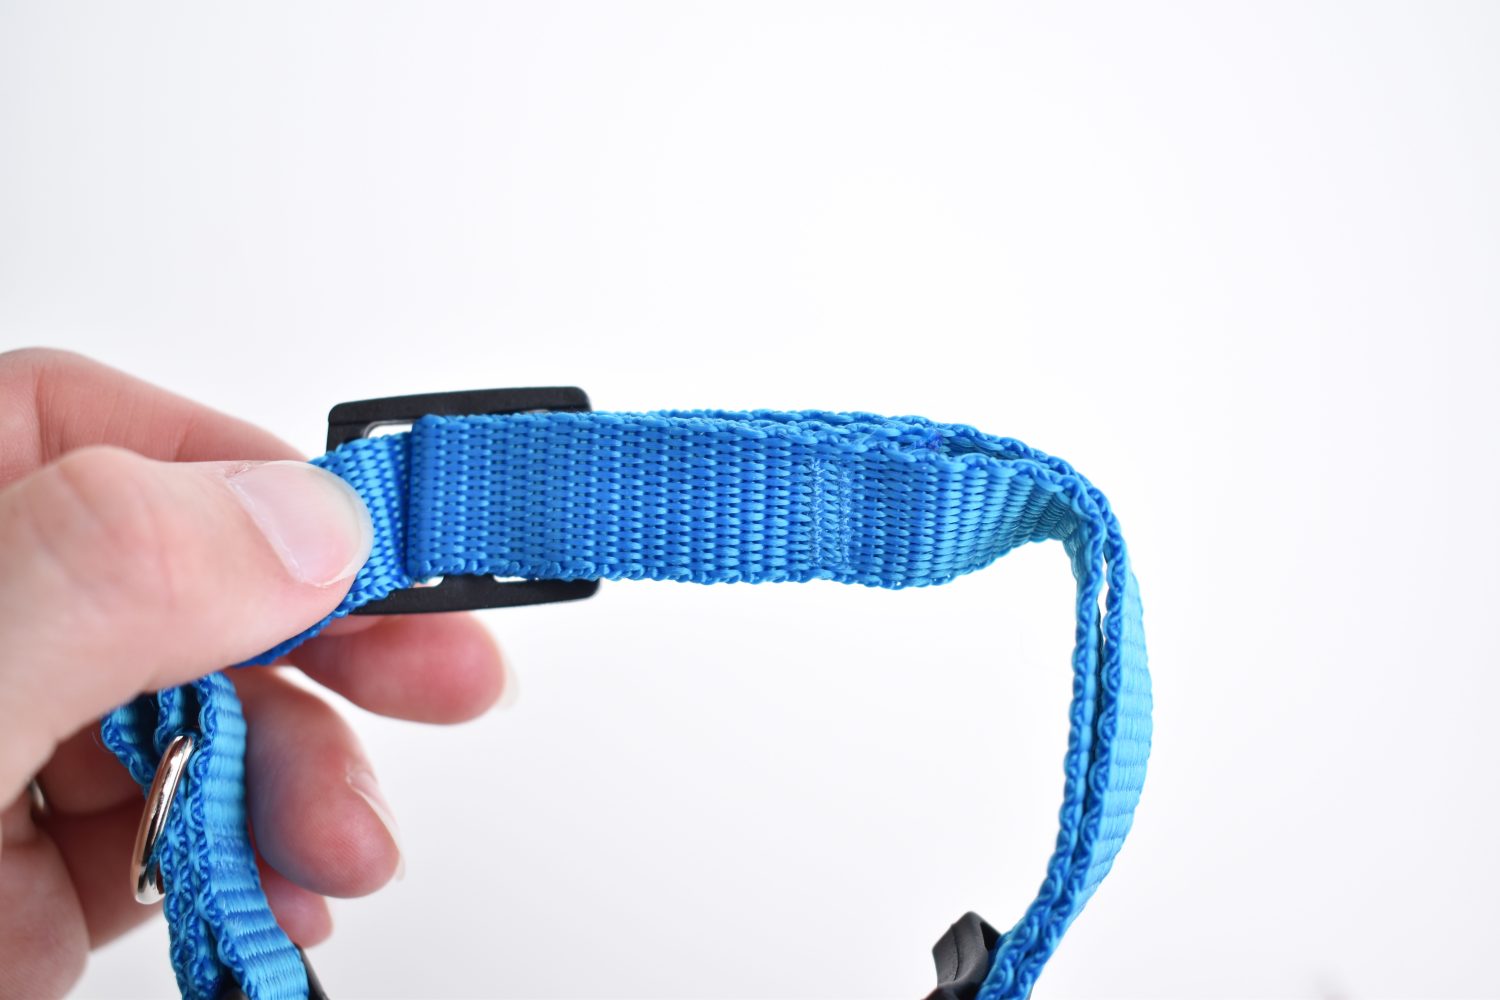
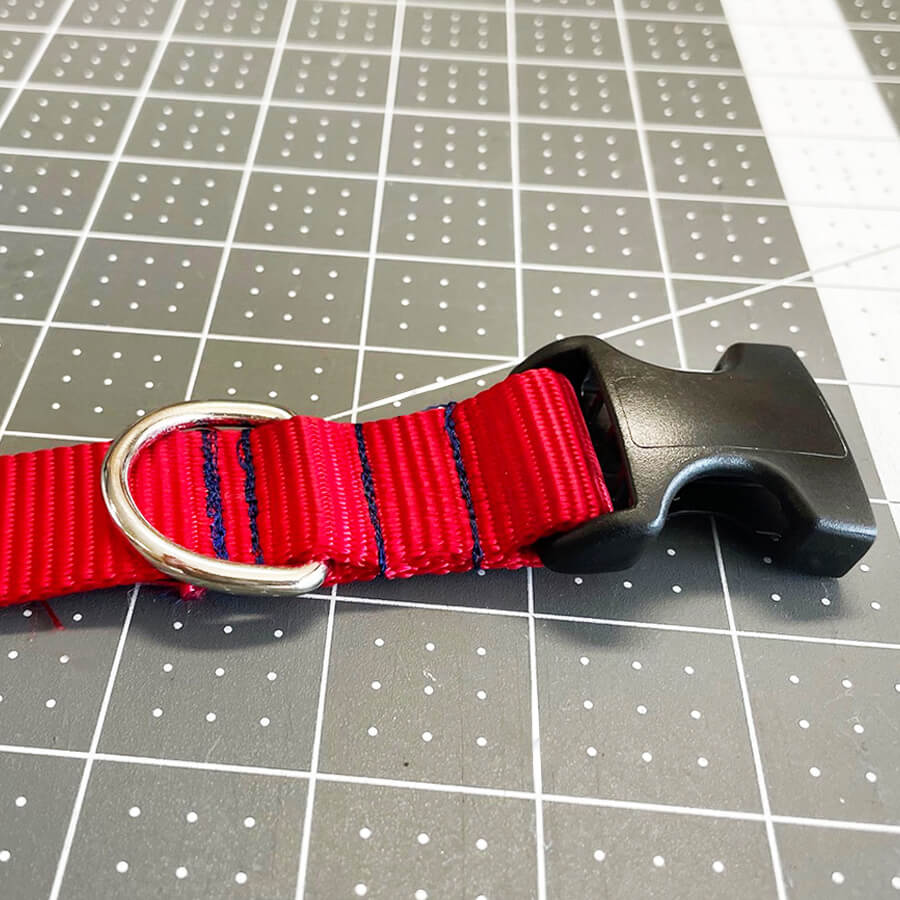
A. Attaching the buckle: Secure the buckle to the webbing strip using a sewing machine or strong stitches
The buckle serves as the closure mechanism for the collar. Here’s how to attach it:
-
Locate the end of the webbing strip where the buckle will be attached.
-
If using a sewing machine, sew a box shape around the base of the buckle prong to secure it firmly to the webbing.
-
Alternatively, for a more secure hand-sewn attachment, use a strong thread and create a series of X-shaped stitches around the base of the buckle prong.