Introduction to DIY Dog Cone Collars
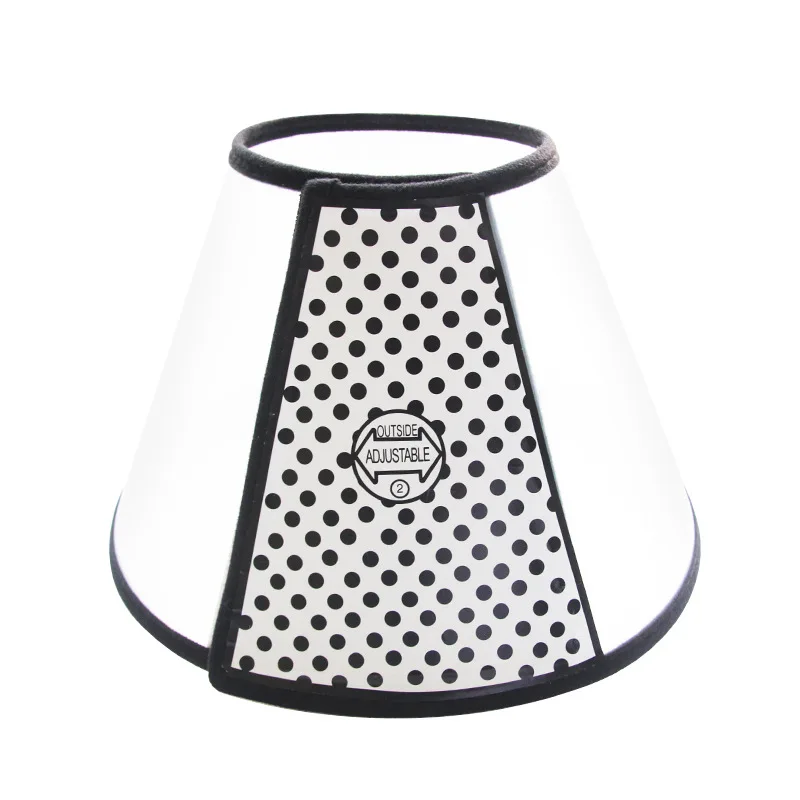
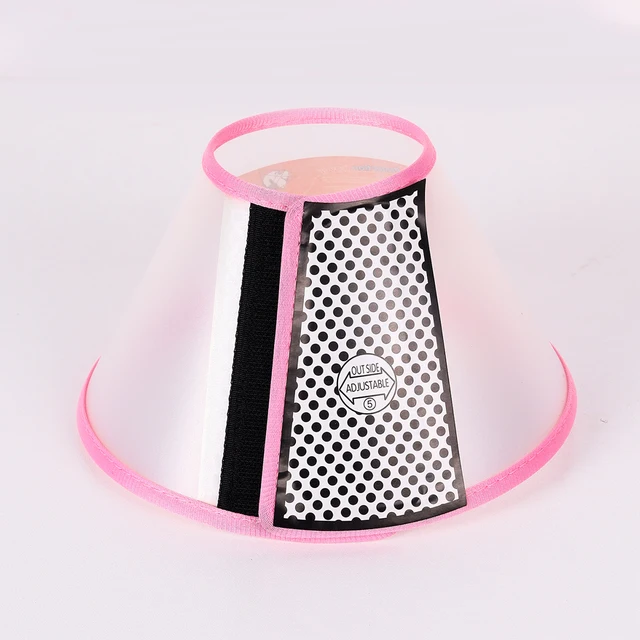
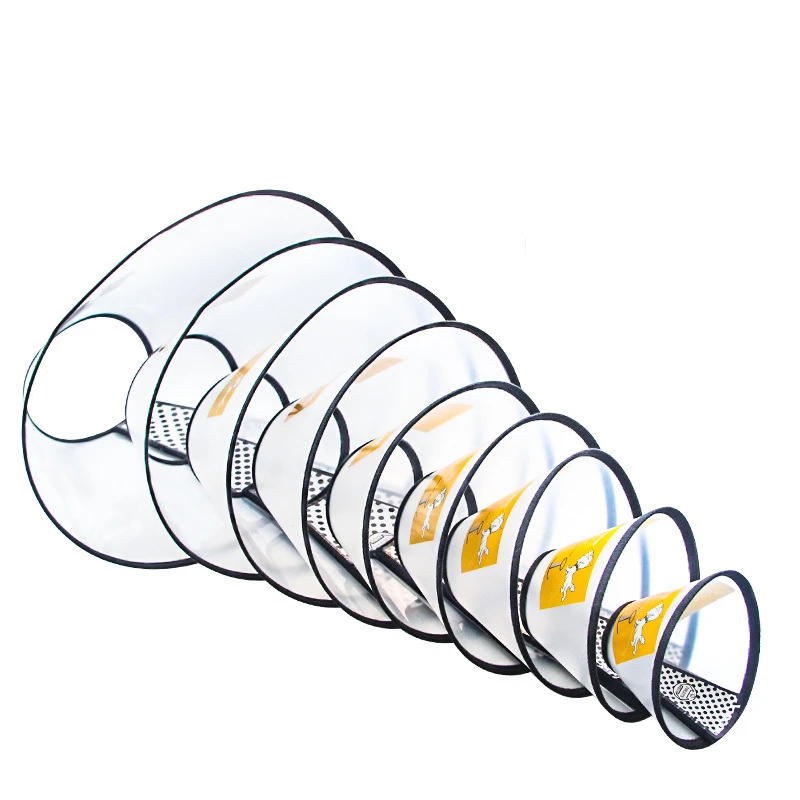
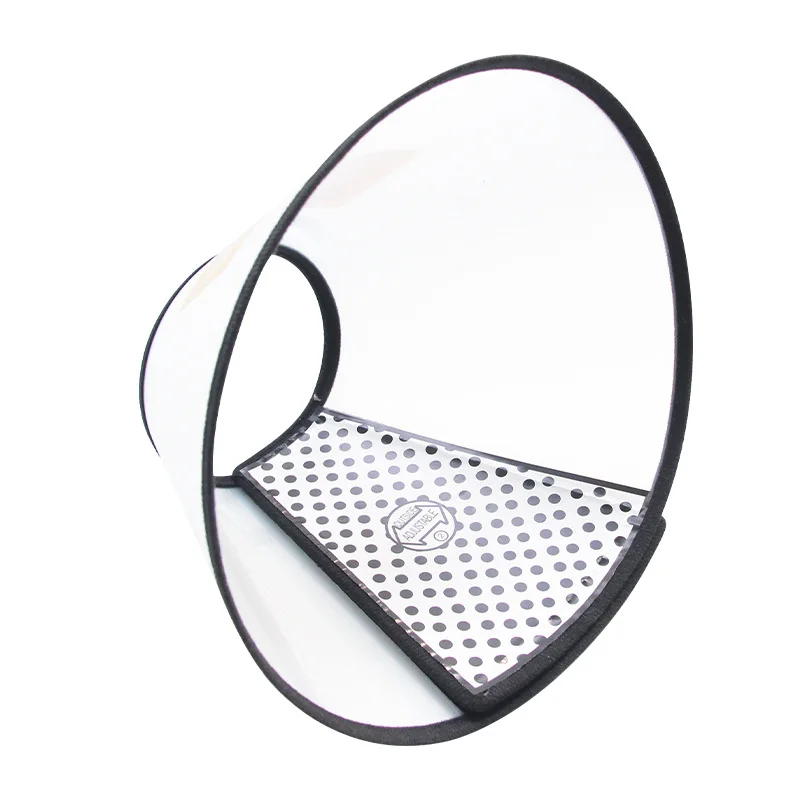
If your furry friend is recovering from surgery or an injury, a dog cone collar is a must to prevent licking or scratching that can impede healing. But, the traditional ‘cone of shame’ can be uncomfortable and stressful for dogs, limiting their ability to eat, drink, move, and see normally. That’s where DIY dog cone collar come in as a savvy solution. By creating your own cone at home, you can tailor the fit and comfort level to suit your pet’s needs.
In this blog, we will explore various materials and designs to construct DIY dog cone collars that are both practical and pet-friendly. From simple pantyhose transformations to innovative neck pillow adaptations, we will guide you through six creative DIY dog cone collar projects, ensuring your pooch’s comfort and safety during recovery. Let’s dive into the world of homemade cones and give our pets the care they deserve with a gentle, custom-made touch.

Pantyhose Dog Cone Project
A DIY dog cone collar can be a lifesaver for your pet without costing a fortune. Let’s learn how to create a pantyhose cone, which can be a comfy and straightforward solution for smaller dogs. This easy-to-make cone requires just a few household items and a little bit of your time.
Materials and Tools Required
- A pair of unused pantyhose (preferably with a ruffle top)
- Duct tape for securing
- Tape measure to get the right fit
- Scissors for cutting
Now that we have our materials, we are set to make a soft and flexible cone for our furry friend.
Step-by-Step Guide
- Measure your dog’s neck using the tape measure. Ensure the fit is snug but not too tight.
- Cut the pantyhose to the desired length based on the neck size.
- Wrap the pantyhose around your dog’s neck, repeating wraps for thickness.
- Once the pantyhose cone is of sufficient thickness, trim any excess length.
- Use duct tape to secure the edges and give a finished look.
Within minutes, you’ve created a gentle alternative to a conventional dog cone! Remember, the pantyhose dog cone is better for small-breeds like Chihuahuas or Terriers. So with a bit of diy ingenuity, you’ve crafted a snug and comfortable cone for your dog’s healing process without the stress of traditional cones.
Cardboard Dog Cone Tutorial
Creating a dog cone out of cardboard is a cost-effective and simple way to protect your pet. This sturdy material is likely already in your home, ready to be transformed into a helpful healing device. Below are the instructions for crafting your own cardboard dog cone collar.
Gathering Your Materials
You will need:
- Cardboard boxes, suitable for your dog’s size
- String, to secure the cone
- Tape measure for proper sizing
- Scissors or a box cutter for cutting
- Duct tape for reinforcement
Collect these items from around your house to start this diy dog cone collar project.
Constructing the Cardboard Cone
- Measure your dog’s neck with the tape measure for the right size.
- Based on the neck size, measure and cut the cardboard.
- Shape the cardboard into a cone that fits around your dog’s neck.
- Make sure to adjust for a snug, but not tight, fit to avoid discomfort.
- Reinforce the shape with string and secure with duct tape.
- Trim any sharp edges to prevent injury.
In just six simple steps, you have a durable diy dog cone collar ready for your dog’s recovery. This easy diy project ensures your pet’s healing space is not disturbed, promoting a quicker recovery. Remember to check the fit regularly and ensure there is no discomfort to your furry companion.

Towel Dog Cone Option
A comfortable and snug DIY dog cone can be made with a towel. This method provides a softer touch than plastic cones, which is a relief for any healing pup. Let’s explore how to craft a towel cone for your beloved canine companion.
Necessary Items for Creation
- A towel, preferably large and soft
- Duct tape for a secure hold
- Scissors to cut the towel if needed
- Tape measure to get the right size
Gathering these simple items from your home will set you up for a successful DIY project.
Instructions for Assembling
- Measure your dog’s neck circumference with the tape measure.
- Fold the towel lengthwise until it is the correct width for your dog’s neck.
- Wrap the folded towel gently around the dog’s neck area.
- Ensure the towel fits snugly but does not press too hard.
- Secure the towel in place using strips of duct tape.
- Trim any excess material with scissors to prevent tripping.
In a few easy steps, you have created a soft and safe towel dog cone collar. This homemade solution helps prevent your dog from reaching their injury, supporting their recovery, and simultaneously providing comfort.
Pool Noodle Dog Cone Alternative
For larger dogs, a pool noodle dog cone can be an ideal DIY alternative. It is both lightweight and comfortable, ensuring your pet doesn’t feel restricted during their recovery period.
Materials Needed
- A pool noodle, preferably one with a hollow center
- Duct tape for securing the cone
- Scissors or a knife for cutting
- Twine or elastic band to keep the cone in place
All these items are common in households or can be bought easily at local stores.
Crafting Process Overview
- Measure your dog’s neck to determine how long the pool noodle needs to be.
- Cut the noodle to the required length using scissors or a knife.
- Slice a straight line down one side of the noodle so it can wrap around the neck.
- Use twine or an elastic band to fit the noodle snugly but not too tight around your dog’s neck.
- Secure the ends with duct tape to prevent the noodle from unwrapping.
In about 15 minutes, you have a soft, comfortable, and effective dog cone collar. It allows your dog to maintain visibility and move with ease. Always monitor your pet to ensure they remain comfortable and that the cone is functioning as intended.
Paper Plate Dog Cone for Small Breeds
Creating a dog cone collar doesn’t have to be complicated. For small breeds, a paper plate can offer a quick and comfortable solution. Let’s learn how to make an easy DIY dog cone collar from paper plates for your small dog.
Preparing Your Materials
You will need:
- Paper plates, preferably sturdy
- Twine or ribbon for securing
- Tape measure to ensure a good fit
- Scissors or a box cutter to make cuts
Gather these items, which you probably have at home already.
Assembly Instructions
- Measure your dog’s neck with the tape measure.
- Cut a hole in the center of a paper plate to fit your dog’s neck.
- Check that the hole is big enough for your dog’s head to fit through easily.
- Ensure the plate’s edge does not rub against your dog’s neck or face.
- Use twine or ribbon to tie the plate secure, not too tight.
- Adjust as needed to make sure your dog is comfortable.
This simple DIY dog cone collar can keep your pet from reaching injuries. It’s best for small dogs who need a light barrier. Remember to check the fit regularly and make any needed adjustments.

Using Neck Pillows as Dog Cones
Neck pillows provide a comfy option for DIY dog cone collars. They’re soft and prevent your pet from reaching wounds without the hard feel of traditional cones. Here’s how to set up a neck pillow as an effective dog cone alternative.
Advantages Over Traditional Cones
- Neck pillows are softer, reducing discomfort for your pet.
- They allow for normal eating and drinking.
- Dogs may feel less anxious and more at ease.
- They’re easy to put on and adjust for a snug fit.
Setting Up the Neck Pillow Cone
- Ensure the neck pillow fits around your dog’s neck comfortably.
- Fasten the pillow securely so it stays in place.
- Adjust as needed to ensure no tightness or chafing.
- Monitor your dog to ensure they can’t reach their injury.
In conclusion, a neck pillow can be a gentle alternative for your healing dog. It offers comfort and peace during recovery. Always watch how your pet adapts to this DIY dog cone collar.
Conclusion: Choosing the Right DIY Dog Cone
When it comes to healing, the comfort of your dog is paramount. A DIY dog cone collar can be just the right solution for ensuring a stress-free recovery. With various options available, from the simplicity of a pantyhose cone to the comfort of a neck pillow, you can choose a method that best suits your dog’s size, the location of their injury, and their general behavior.
Remember, the key is to find a balance between preventing your dog from interfering with their healing process and keeping them as comfortable as possible. It’s essential to closely monitor your pet with any DIY dog cone collar to ensure that it’s effectively serving its purpose without causing frustration or discomfort.
Finally, always consider the materials you have at hand and the ease of constructing the collar. Whether you opt for a towel, cardboard, pool noodle, paper plate, or neck pillow, each creation has its own set of pros and cons. Take your time to make an informed choice and consult with a veterinarian if you have concerns about the best option for your furry friend.
In the end, a DIY dog cone collar can provide a gentle way to help your pet heal, giving you peace of mind and keeping your pooch happy on the road to recovery.
