Introduction to DIY Dog Collars
Creating a custom dog collar for your furry friend can be a fun and rewarding DIY project. It’s not only a way to express your love and care, but also an opportunity to design something unique that reflects your dog’s personality. Whether you’re a seasoned crafter or just starting out, making a diy dog collar is a doable task with the right approach and tools.

Before we dive into the detailed steps on how to craft a beautiful and reliable collar, it’s important to understand the overall process. Firstly, you’ll need to gather all the essential supplies such as durable fabric, heavy-duty nylon webbing, a sewing machine, and the necessary hardware like buckles and D-rings.
The joy of creating a diy dog collar is in the customization; you get to pick colors, patterns, and materials that suit your dog the best. Plus, by making a collar yourself, you ensure its quality and durability since you’ve picked all the materials and put it together with care.
Additionally, the project can become even more special if you recycle materials or choose those with sentimental value—maybe fabric from an old favorite shirt or a past Halloween costume. It is a practical way to keep memories alive while crafting a useful item.
The process of making a dog collar may seem daunting at first, especially if you’re new to sewing. But rest assured, with patience and practice, you’ll be able to create a sturdy and stylish collar that can stand up to your dog’s adventures. Let’s move forward and see what you’ll need to start this exciting project.
Essential Supplies for Making a Dog Collar
To start your DIY dog collar project, gather these key items:
- Quilting cotton or any durable fabric of your choice for the outer layer.
- Heavy nylon webbing to provide strength; select a size that suits your dog (1″, 3/4″, 5/8″, etc).
- Collar hardware, including a buckle, D-ring, and triglide in sizes matching your webbing.
- A reliable sewing machine for sturdy stitching.
- Thread that matches your fabric for a seamless look, plus topstitching thread for added durability.
- Sharp scissors or a rotary cutter for precise cuts of fabric and webbing.
- A cutting mat to protect your surfaces and help measure pieces accurately.
Optional but helpful items include:
- A wide metal straw and skewers to help turn fabric tubes right-side out.
- A large safety pin can assist in threading the webbing through the fabric.
Keep in mind that this list includes the basics to make a standard collar. Feel free to adapt and add other elements that fit your design ideas. For example, you might want ribbons, embroidery, or special tags to personalize your creation.
Before starting, remember that it’s worth investing time to measure and cut accurately. This ensures a good fit and a professional finish. Expect to spend about an hour if it’s your first collar. With experience, it might take around 20-30 minutes per collar.
It’s also noteworthy that making a diy dog collar is suitable for someone with intermediate sewing skills. If you are a beginner, don’t be discouraged. Practice will build your confidence and ability to create a beautiful, custom collar for your pup.

Choosing the Right Fabric and Webbing
Selecting the suitable fabric and webbing is critical for your diy dog collar. It ensures both style and durability. When choosing fabric, quilting cotton is an excellent option due to its vast array of designs and robust nature. However, feel free to explore other fabrics that may reflect your dog’s personality or match special occasions. Choose a fabric that stands out, yet tough enough to endure playtime and the outdoors.
For the webbing, heavy nylon is your best bet. It serves as the collar’s backbone, providing the necessary strength to keep it secure around your dog’s neck. Nylon webbing is widely used for its resilience and comfort. Select a webbing width that matches your dog’s size; for small dogs, 5/8″ might suffice, whereas larger breeds may require the sturdier 1″ options.
Remember, the fabric you choose will wrap around the webbing. Ensure that the colors or patterns of your fabric complement the webbing. This creates a seamless and appealing look. Your pup’s collar will not only be a reflection of your craft but also a safe and comfortable accessory for them to wear on their adventures.
Sewing Basics: Preparing the Collar Pieces
Before assembling your DIY dog collar, the prep work is crucial. Start by cutting your chosen fabric and nylon webbing to the correct lengths. The length should match your dog’s neck size, adding a few extra inches for adjustments. It’s important for comfort and safety.
Here’s a simplified step-by-step guide to prepare your collar pieces:
- Measure Your Dog’s Neck: Use a measuring tape to get the exact size. Add 2-3 inches for a snug fit.
- Cut the Fabric: Use scissors or a rotary cutter to slice your fabric into strips. Your strip should be around 3 inches wide and the length you’ve measured.
- Cut the Webbing: Your webbing should be slightly shorter than the fabric, by about 2.5 inches.
- Sew the Fabric: Stitch the fabric into a tube, right sides together. This will hide the seam when you turn it right-side out.
- Turn the Tube: Use a wide metal straw or skewer, optional tools, to flip the tube. The right side of the fabric will show on the outside.
- Thread the Webbing: Slide the webbing into the fabric tube. A large safety pin can help push it through.
Getting these steps right sets the foundation for a durable and attractive DIY dog collar. Ensure your stitches are straight and firm, and the fabric sits evenly on the webbing. Checking this now will save time later and elevate the final quality of your pup’s new collar.
Step-by-Step Instructions for Assembling the Collar
After prepping your materials, it’s time to assemble your DIY dog collar. Follow these steps to create a collar that’s safe, sturdy, and stylish for your furry friend.
- Sew the Fabric Tube: Take the fabric tube you’ve sewn and make sure it’s turned right-side out. All seams should be inside.
- Insert the Webbing: With a large safety pin, thread the nylon webbing through the fabric tube. It should fit snugly.
- Align the Edges: Ensure one edge of the webbing aligns with the fabric tube end.
- Stitch the Fabric to Webbing: Sew along both edges of the fabric tube, securing it to the webbing. Use a straight stitch on your machine.
- Attach the Triglide: Slide on the triglide and fold back the webbing. Stitch it in place for a loop.
- Add the Buckle: Slip one half of the buckle onto the webbing and thread it through the triglide, creating an adjustable loop.
- Thread the D-Ring: Place the D-ring next to the buckle half and stitch the webbing, securing both the buckle and the ring.
- Secure the Second Buckle Half: Thread the free end of the webbing through the other buckle half. Stitch to secure.
- Box Stitch for Strength: At critical points, like the triglide and buckle attachments, use a box stitch pattern for extra durability.
- Trim and Melt Webbing Ends: Trim any excess webbing and lightly melt the edges with a flame to prevent fraying.
- Final Inspection: Look over the collar to ensure all hardware is secure and the stitches are neat.
- Fit on Your Dog: Adjust the collar to fit your dog comfortably and snap it in place to admire your handiwork.
By following these steps, you’ll craft a DIY dog collar that is not only personalized but also strong enough to withstand daily wear and tear. Remember, for added detail, you can topstitch the collar for a finished look and to reinforce the stitches. Take pride in knowing you’ve created a quality accessory that your pup will love.
Adding Hardware: Buckles, D-Rings, and Triglides
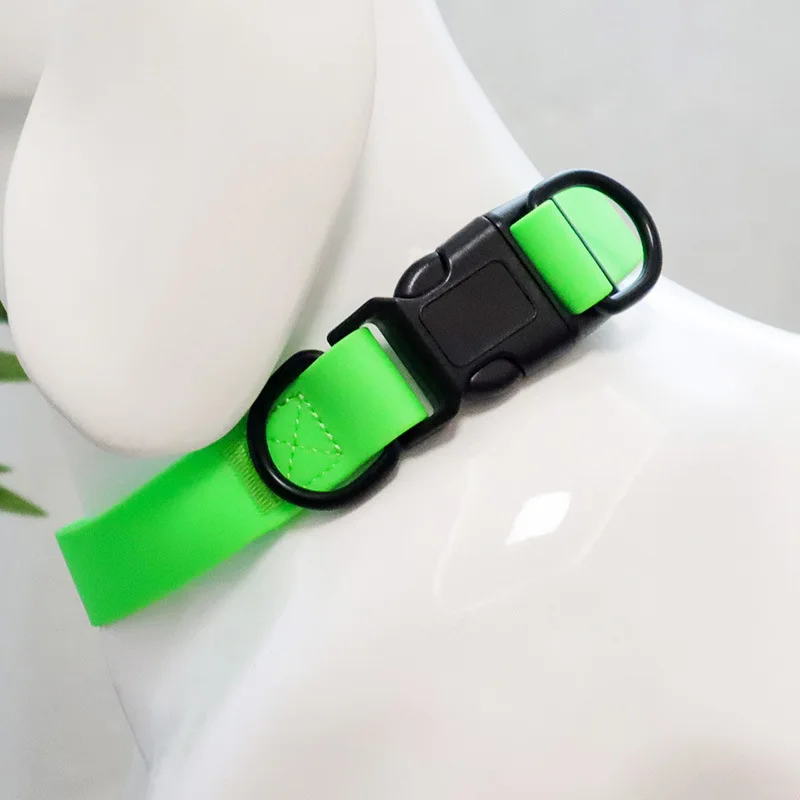
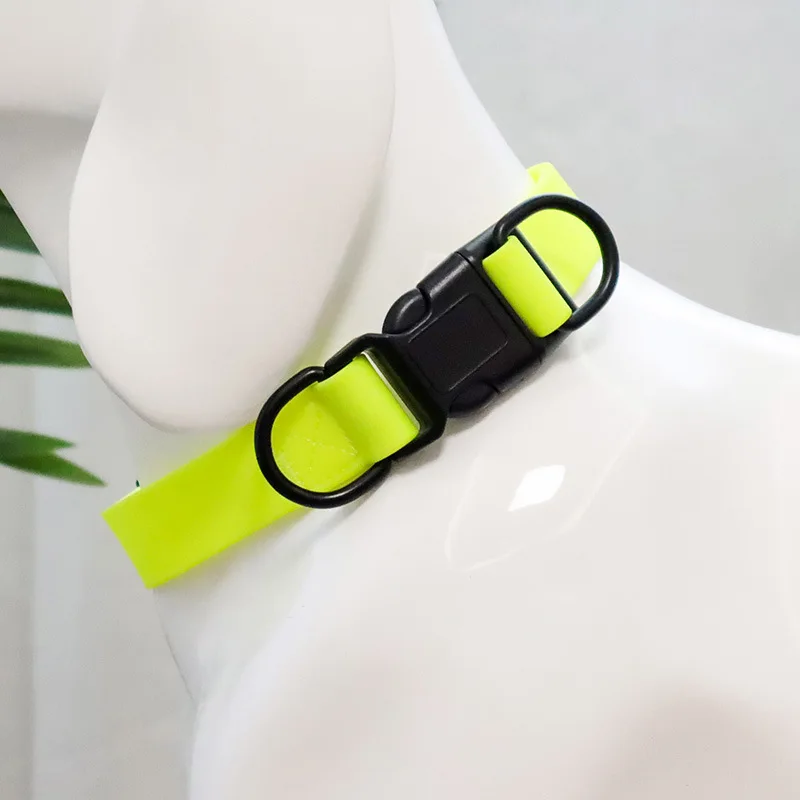
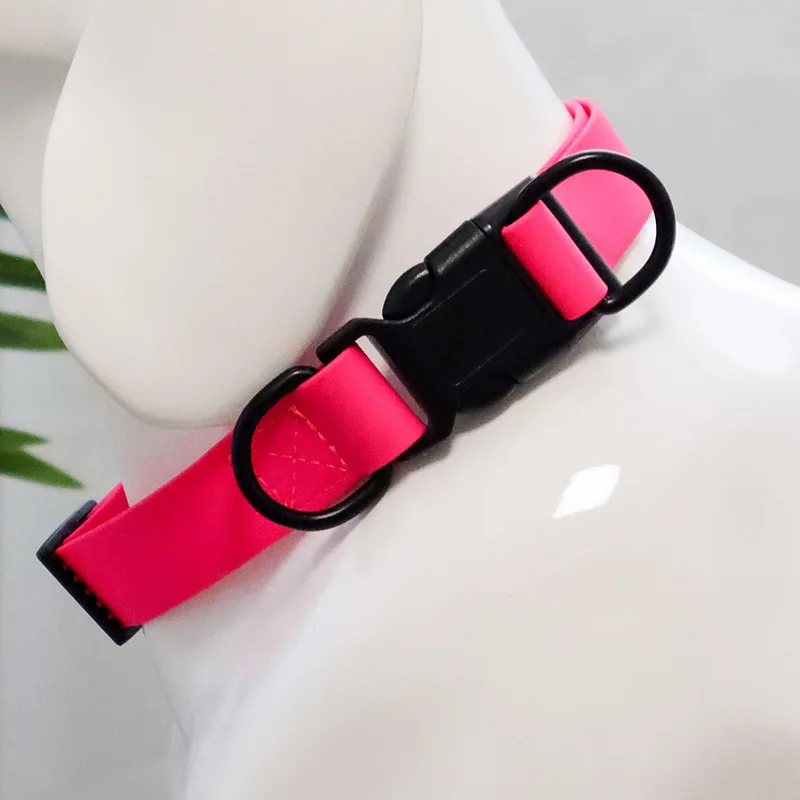
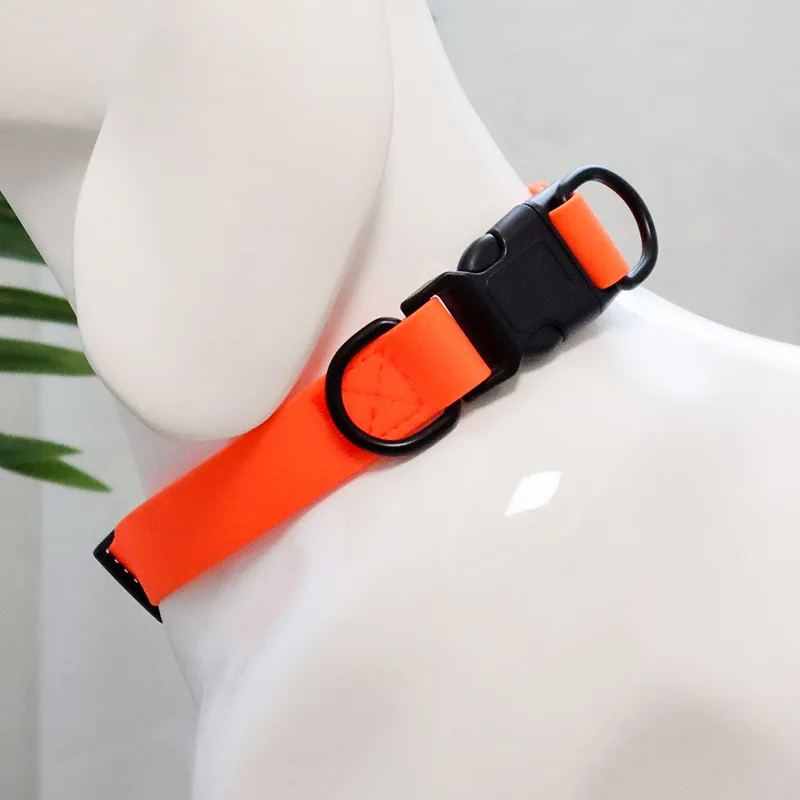
Once you have your fabric tube and webbing ready, it’s time to add the hardware. This hardware makes your diy dog collar functional and easy to use. Buckles allow for easy collar removal. D-Rings let you attach a leash or ID tags. Triglides help adjust the collar size. Here’s how to attach each piece of hardware:
- Attach the Triglide: Slide the triglide onto the webbing. Fold the end of the webbing back and stitch a square pattern with an X inside it to hold it in place. This creates an adjustable loop for the collar.
- Add the Buckle: Slide one side of the buckle onto the webbing. Loop the webbing through the triglide next to it. This way, when the collar is on your dog, you can adjust it for comfort and fit.
- Place the D-Ring: Put the D-Ring next to the buckle you just added. Sew the webbing to ensure the D-Ring and buckle won’t move. This is generally where you would attach a leash.
- Secure the Buckle and D-Ring: Do a box stitch around the areas where the hardware meets the webbing. This strengthens these critical stress points.
- Thread the Other Buckle Half: Take the free end of your webbing, run it through the remaining half of the buckle. Stitch the webbing to hold this second buckle half secure.
Make sure each piece of hardware is fitted firmly. Check your stitches to confirm they are even and strong. Taking the time to attach your hardware correctly will increase the collar’s lifespan and safety. Good hardware attachment ensures your dog’s collar stays on, no matter the adventure they embark on.
Finishing Touches: Topstitching and Quality Check
Adding the final touches to your DIY dog collar enhances both its appearance and its durability. Topstitching and conducting a thorough quality check are vital steps to ensure a professional and long-lasting result. Here’s how to add those finishing touches:
- Topstitch for a Clean Look: Use topstitching thread that matches or contrasts with your fabric. Topstitch along both edges of your collar. This frames your work and locks in the strength. Aim for straight, even lines as they add to the collar’s aesthetics and overall strength.
- Check Stitch Consistency: Examine your stitches. Ensure they’re uniform and no loose ends are present. If you spot any, resew to reinforce.
- Hardware Security: Pull on buckles, D-rings, and triglides to confirm they’re secure. They should not slide or show gaps where the webbing attaches.
- Comfort Fit: Wrap the collar around your hand to feel for any sharp edges or bulky seams. Your dog’s comfort is as important as the collar’s style.
- Final Quality Inspection: Look over the collar for any irregularities or missed spots. If all looks good, you’ve just crafted a high-quality DIY dog collar.
- Adjust and Test: Place the collar on your dog and adjust for a snug fit. The collar shouldn’t be too tight or too loose. Observe your dog wearing it to ensure it’s comfortable and secure.
With these finishing touches, your DIY dog collar will be complete. Your pup will wear a piece of your handiwork that is safe, durable, and uniquely stylish. Remember, the effort and love you put into this project make it more than just a dog collar; it’s a token of your bond with your furry companion.

Alternatives to DIY: Purchasing Custom Collars
While crafting a diy dog collar can be a satisfying project, not everyone has the time or sewing skills required. In such cases, purchasing a custom collar for your pooch might be the right choice. Custom collars offer uniqueness without the need for you to handle the sewing machine and materials.
Here are some reasons to consider purchasing custom dog collars:
- Professional Craftsmanship: Custom collars are usually made by skilled artisans, ensuring high quality and durability.
- Time-Saving: Buying a custom collar can save you the hours you would spend on DIY.
- Variety of Designs: You can choose from a broad range of designs and materials that might not be easily available for DIY.
- Personalization Options: Many vendors offer personalized collars with your dog’s name, special charms, or even GPS trackers.
- Perfect Fit: Custom collar makers often tailor the size to your dog’s specific measurements, ensuring a perfect fit.
If you decide to go the custom route, remember to look for reputable sellers. Check reviews, ask about the materials they use, and ensure they understand the importance of safety and comfort. While it might come at a higher price than DIY, the convenience and professional finish can make it a worthy investment.
Whether you decide to sew a collar yourself or purchase a custom one, the end goal is the same: to give your furry friend a collar that is both stylish and reliable for their daily adventures.
