Introduction to Prong Collars
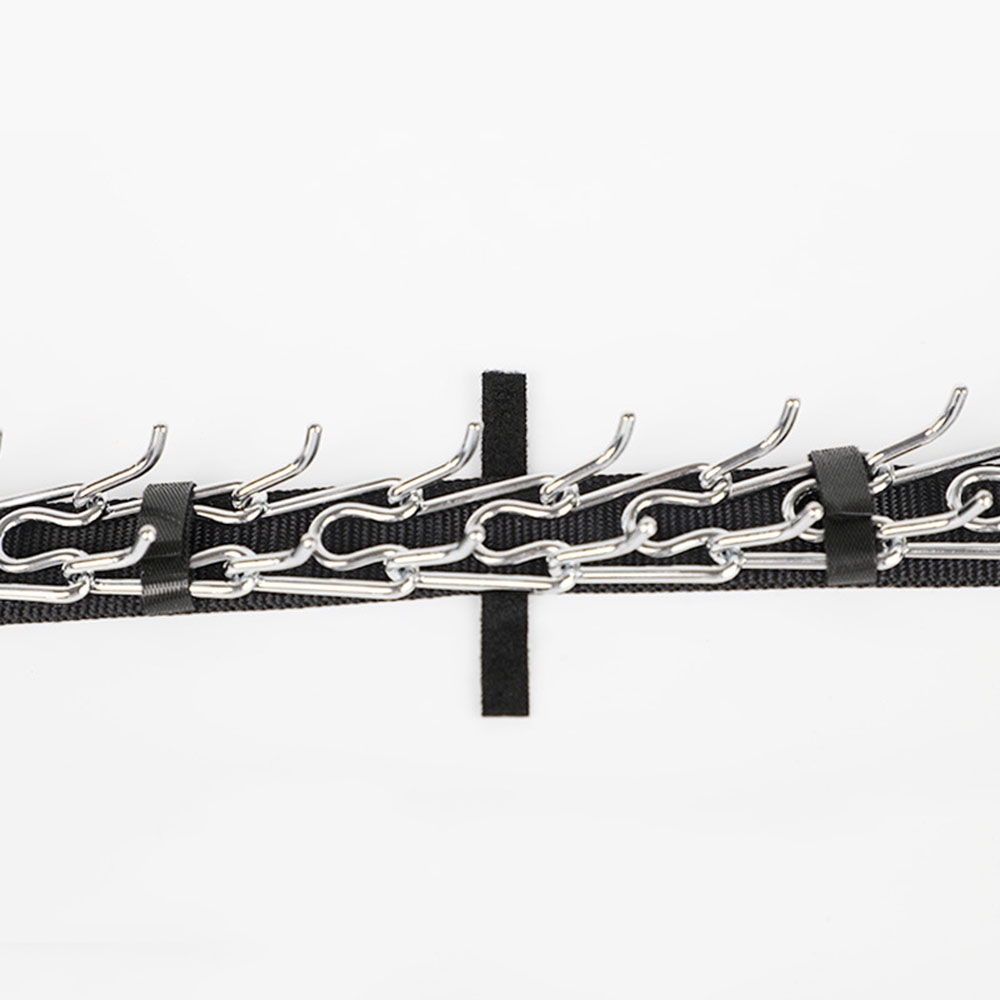
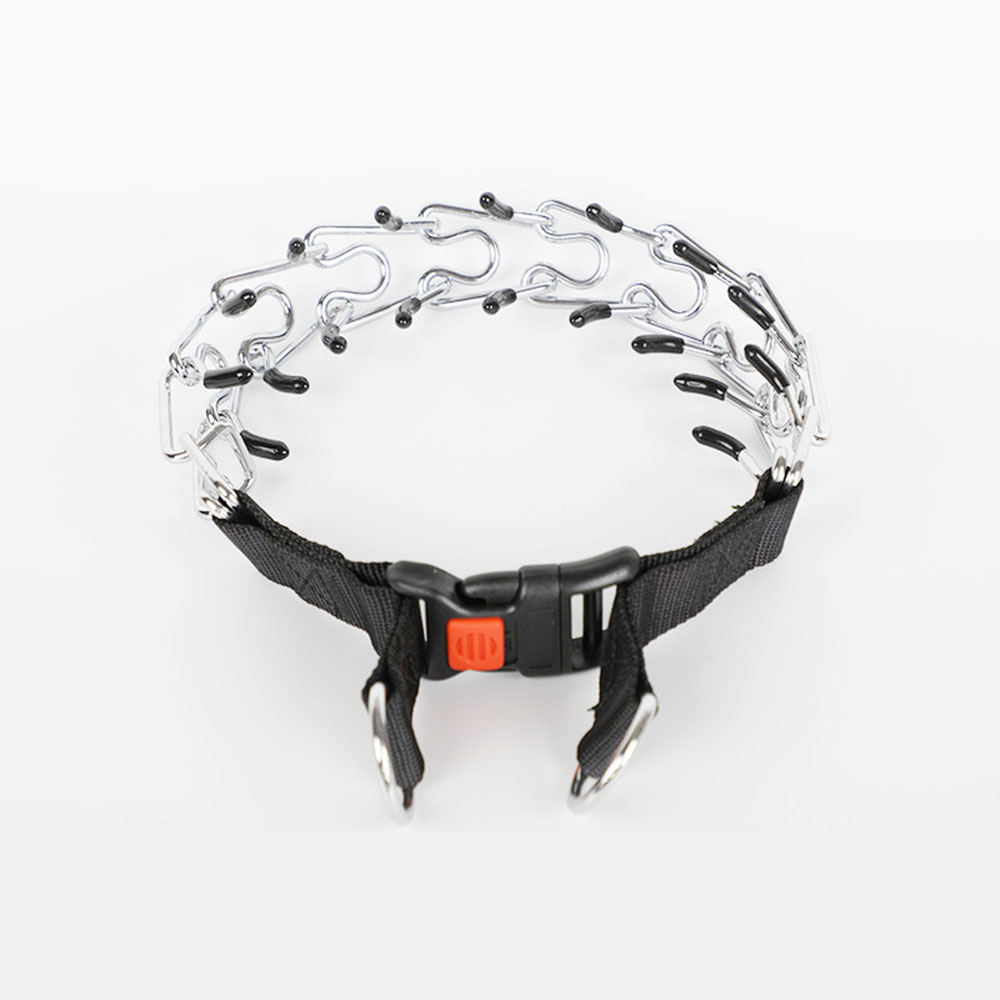
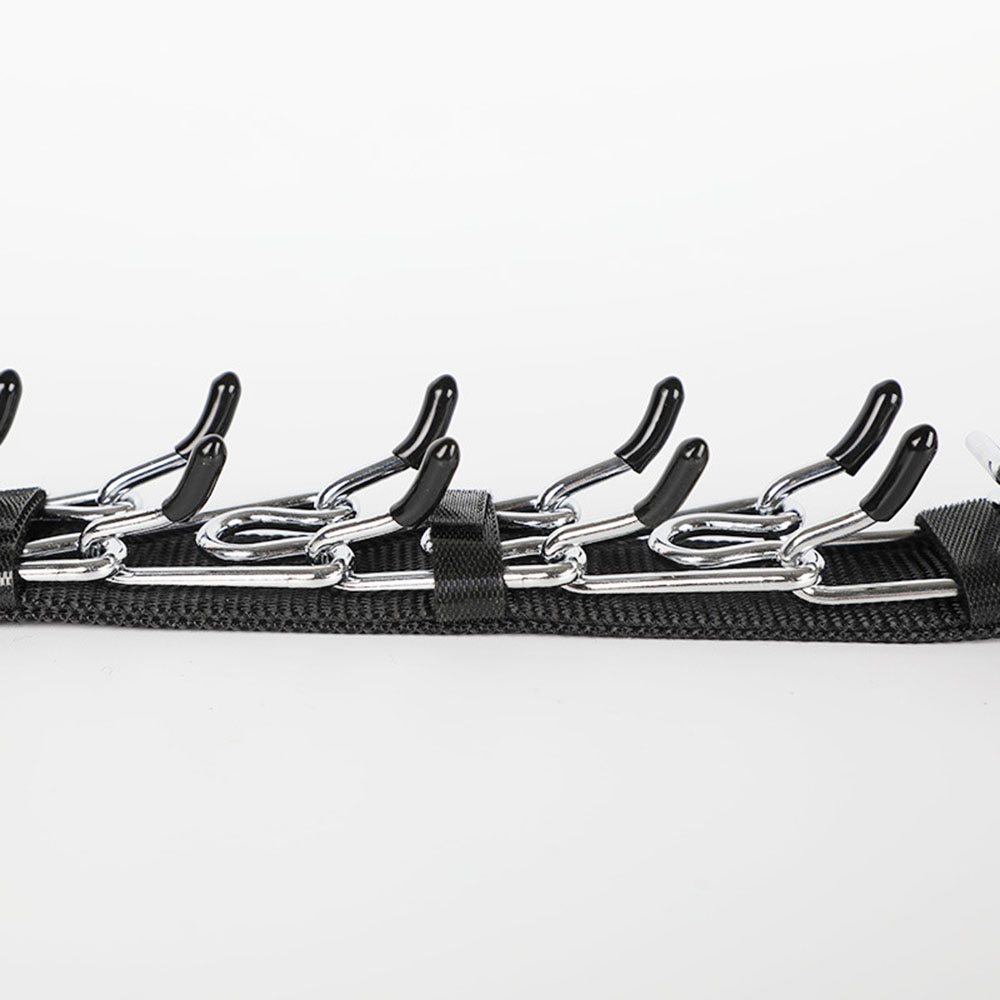
If you’re considering a prong collar for your dog, understanding its purpose is crucial. How to put a prong collar on a dog? A prong collar, often known as a pinch collar, is a training tool. It has metal links with blunted prongs that sit against a dog’s neck. When used correctly, these collars are meant to mimic the corrective behavior of a mother dog towards her puppies. It’s a method to guide dogs without causing harm when they pull on the leash or misbehave.

Using a prong collar requires a responsible approach. This guide will show you how to put a prong collar on a dog safely. We will cover the steps you need to follow, including fit, placement, and securing the collar. Along the way, we’ll also discuss safety tips to ensure that your dog has a positive training experience.
It’s important to note that prong collars are not suitable for all dogs. They serve a specific purpose and should be used as part of a broader training program. Always consult with a professional trainer or behaviorist to determine if a prong collar is right for your pet.
In the following sections, we’ll dive deeper into how to ensure a correct fit, introduce the collar to your dog, place it correctly, and secure it properly. Stay tuned for our step-by-step instructions to use a prong collar in the most effective and humane way possible.
The Correct Fit for a Prong Collar
Ensuring the correct fit of a prong collar is essential. A poorly fitted collar can cause discomfort or even injury to your dog. Here’s how you can make sure your prong collar is the right size for your canine companion:
- Measure Around the Neck: Use a cloth tape measure to find the circumference of your dog’s neck where the collar will sit. This is usually just behind the ears.
- Check the Prongs: The prongs should be of appropriate length. They should not be too long to avoid excessive pressure or too short that they don’t touch the dog’s skin lightly.
- Snug but Not Tight: The collar should fit snugly without causing discomfort. You should be able to fit two fingers between a prong and your dog’s skin.
- Even Distribution: Make sure the prongs are evenly distributed around your dog’s neck. Uneven distribution can lead to uneven pressure points.
Remember, the correct fit is vital when learning how to put a prong collar on a dog. A well-fitted collar ensures the safety and comfort of your dog while providing the control needed during training. Recheck the fit frequently, especially if your dog is growing or changing in weight.
Step 1: Assembling the Prong Collar
Assembling a prong collar correctly is fundamental before placing it on your dog. Here’s a clear, step-by-step process to assemble the collar effectively.
- Lay Out the Components: Start by spreading out the prong collar’s pieces on a flat surface. This includes the chain, the prongs, and the release mechanism.
- Attach the Prongs: Connect each prong to the links of the chain. Ensure they click into place securely. Check each prong to make sure they are fastened properly and aligned evenly.
- Check the Release Mechanism: The release mechanism, often a snap or buckle, should function smoothly. This is crucial for quick closure and release during training sessions.
- Final Inspection: Once assembled, inspect the collar thoroughly. Make sure all parts are secure and the collar forms a continuous loop.
By following these steps, you ensure the prong collar is ready for safe and effective use. Proper assembly is key in preventing malfunctions and potential discomfort for your dog.
Step 2: Introducing the Collar to Your Dog
Introducing a prong collar to your dog carefully is key to a smooth training process. Here are the simple steps to follow to make this introduction stress-free for your canine friend:

- Let Your Dog Sniff the Collar: Place the prong collar near your dog and let them sniff it. This helps your dog get used to the collar’s scent.
- Show a Positive Attitude: Use a happy and excited voice when showing them the collar. Your mood affects how your dog perceives the new tool.
- Associate with Treats: Hold the collar in one hand and a treat in the other. Every time your dog shows interest in the collar, give them a treat. This makes the collar seem like a good thing.
- Touch Neck Gently: Once your dog seems comfortable, touch their neck gently with the collar. Avoid any fast motions that could startle them.
- Short Sessions: Keep the introduction sessions short. Couple of minutes at most. This prevents any stress or negative associations with the collar.
Remember, patience is crucial when learning how to put a prong collar on a dog. Take it slow and ensure your dog is comfortable and relaxed during each step of the introduction.
Step 3: Proper Placement of the Prong Collar
Proper placement of the prong collar is crucial for effective training. Here’s how to position the collar on your dog’s neck safely and comfortably:
- Position Around the Neck: The collar should sit right behind the ears and under the jaw. This position mimics the corrective behavior of a mother dog snagging her pup’s neck.
- Check for Fit: Before securing the collar, ensure it fits correctly. You should still be able to fit two fingers underneath the collar.
- Adjust if Necessary: If the collar is too loose or too tight, adjust the links. Add or remove prongs to get the perfect fit. It’s vital not to let it hang too low or it could slip over the head.
- Clip it Securely: Once positioned and adjusted, use the release mechanism to securely fasten the collar. Double-check to ensure it won’t come loose easily.
Positioning the prong collar properly is essential to ensure that your dog is not only comfortable but also safe during training sessions. Adequate placement helps in delivering gentle correction in a manner that is both effective and humane.
Step 4: Securing the Collar
Once you’ve positioned the prong collar correctly, it’s time to secure it. This step is critical to ensure that the collar stays in place and to provide safe, consistent correction during training. Here are the steps for securing the prong collar:
- Fasten the Mechanism: Hold the ends of the collar near the release mechanism. Snap or buckle the collar closed with a firm motion. Make sure it locks in place.
- Test the Security: Gently tug on the collar to test if it’s secure. It should not come apart or loosen. This ensures that it won’t accidentally release during use.
- Observe Your Dog’s Reaction: Watch your dog’s behavior. If your dog seems uncomfortable, double-check the fit and security of the collar.
- Leave Some Mobility: While the collar should be secure, your dog needs to move its neck freely. Check that the collar is not restricting your dog’s movement.
- Practice Releasing: Practicing how to quickly release the collar is important. In case of emergency, you need to be able to remove the collar swiftly.
Securing the prong collar properly is essential for safe and effective dog training. Once secure, you’re ready to proceed with training, keeping in mind to always supervise your dog while the prong collar is on.

Safety Tips for Using a Prong Collar
When using a prong collar, safety is paramount. Here are some key tips to remember:
- Start with Training: Always begin with professional training. A trainer can teach you how to use the collar correctly.
- Monitor Your Dog: Keep an eye on your dog for any signs of discomfort or distress while wearing the collar.
- Never Leave Unsupervised: Do not leave your dog unattended with the prong collar on. It’s not for continuous wear.
- Use for Short Periods: Employ the collar for short training sessions only. This prevents overreliance or discomfort.
- Regular Checks: Frequently check the fit and condition of the collar. Adjust or replace it as needed to ensure safety.
- Avoid Pulling: Never yank the leash while your dog is wearing the prong collar. It could cause pain or injury.
- Keep it Positive: Pair the collar with positive reinforcement. This helps your dog associate training with good experiences.
- Health First: If your dog has any health issues, consult your vet before using a prong collar. It may not be suitable.
Using a prong collar requires a responsible and informed approach. Follow these safety tips to help ensure a positive and humane training experience.
Troubleshooting Common Issues
While using a prong collar can be highly effective, you might encounter some common issues. Here’s how to address and correct them effectively:
- Collar Slipping: If the prong collar slips off, it’s likely too loose. Check the fit and adjust the links to make sure it sits snugly behind the ears and under the jaw.
- Dog Seems Uncomfortable: Should your dog show signs of discomfort, check that the collar is not too tight. You should be able to fit two fingers under the collar. Also, ensure the prongs are not digging into the skin.
- Inconsistent Corrections: If the corrections seem inconsistent, the placement might be wrong. Re-position the collar to sit right behind the ears and under the jaw, ensuring it doesn’t hang too low on the neck.
- Prong Damage: Inspect the prongs for any damage or bending. Damaged prongs can affect the functionality and safety of the collar. Replace any damaged parts immediately.
- Releasing Issues: If the release mechanism is hard to operate, lubricate it with a silicone spray. If problems persist, consider replacing the mechanism.
Addressing these issues promptly ensures the prong collar works effectively and remains a humane training tool. Remember, when in doubt, consult a professional trainer for guidance.
Conclusion
In this guide, we explored how to put a prong collar on a dog. Remember, while a prong collar can be an effective training tool, its use must be approached with mindfulness and care. Always start by ensuring a correct fit, to avoid potential discomfort or harm. Take the time to introduce your dog to the collar calmly, securing it in the appropriate position and practicing quick release techniques.
Safety should always be your top priority. Utilize the collar during supervised, short training sessions and pair it with positive reinforcement methods. Keep an eye on your dog’s behavior and make adjustments as needed. If you encounter any problems such as slipping or discomfort, address them promptly to maintain the tool’s effectiveness without causing distress to your dog.
Consult with a professional if you’re unsure about any aspect of using a prong collar. With proper use, training with a prong collar can be a beneficial part of your dog’s learning experience. Remember, the ultimate goal is to foster a positive relationship and clear communication with your pet.